Step by Step Guide
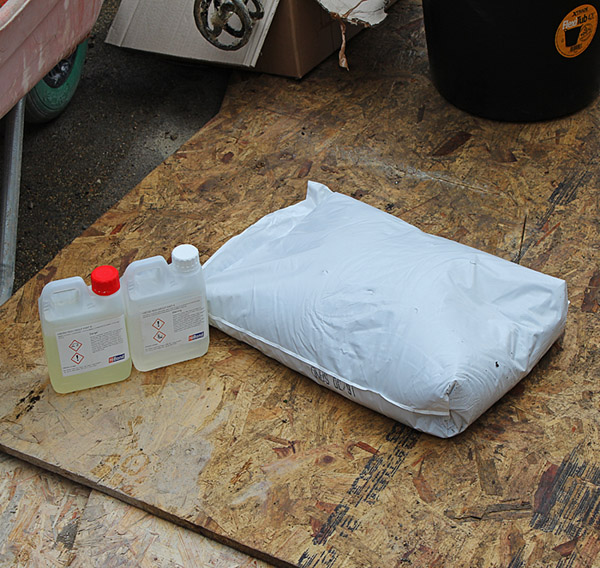
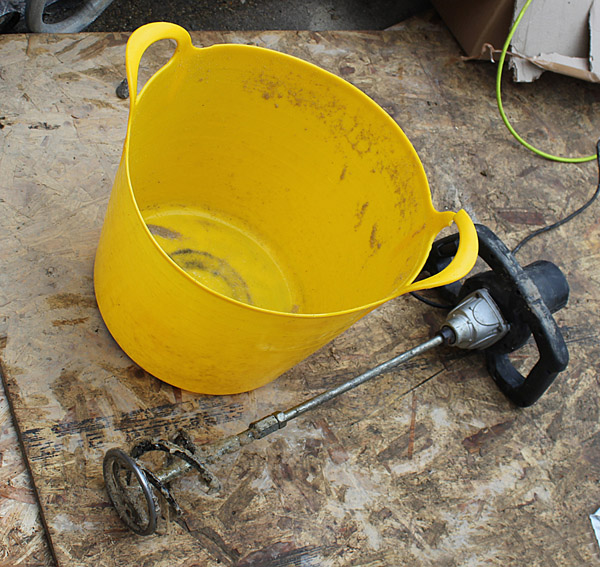
| Mixing and Tools Required: Resi-Grout is a 3 part mix; Resin Part A, Curing Agent Part B, 25kg graded dry sand. Mixing Vessel (Rhino Type Tub), Paddle Mixer (Plaster mixer, heavy duty), Stiff bristle brush or squeegee, Soft bristle brush |
|
| Step 1. Clean the surface of all dirt, cement residues, organic materials, or any other contaniments, including cleaning out all joints to the required depth. | 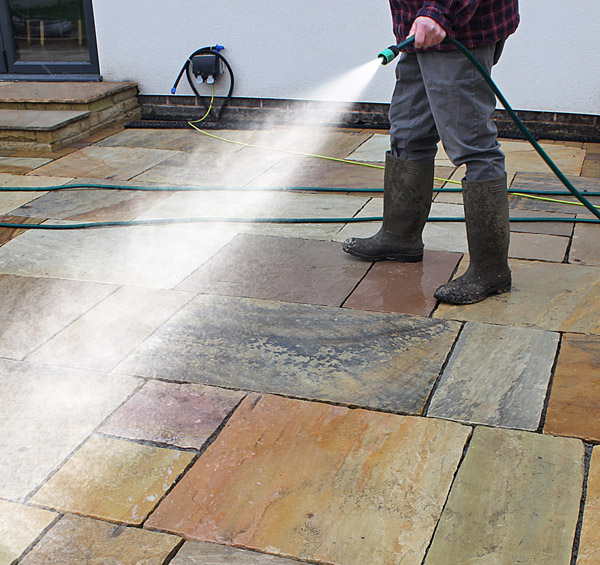 |
| Step 2. Add all contents of Resins, Part A and Part B into mixing vessel. Mix with power mixer until homogenous (approx 1 min). | 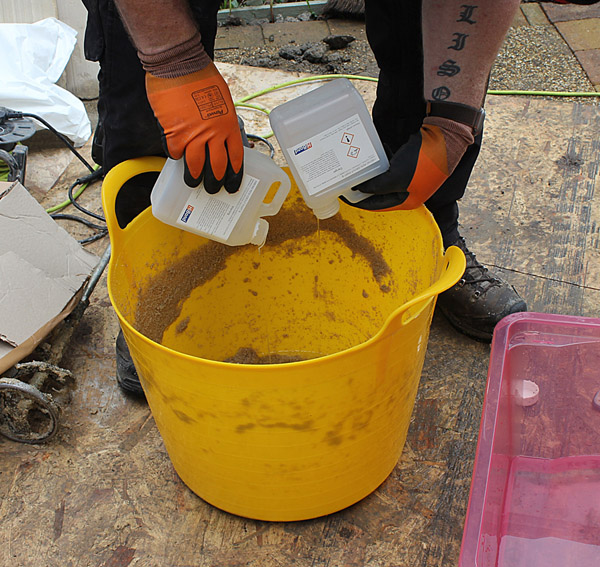 |
| Step 3. Add 25kgs (1 bag) of blended dry sand. Mix until fully wetted out. | 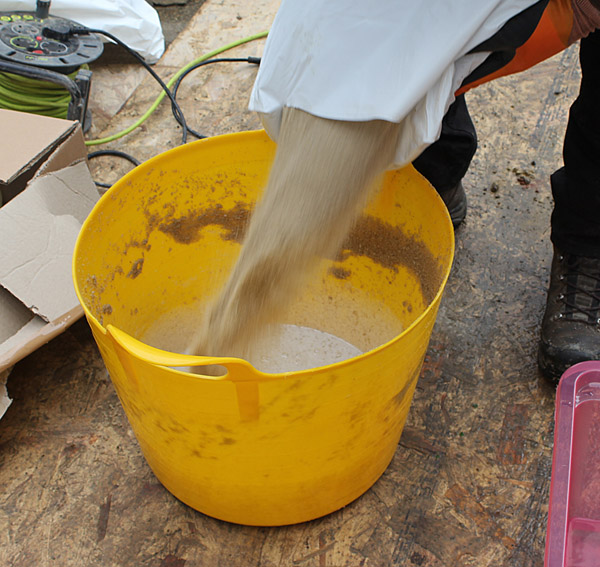 |
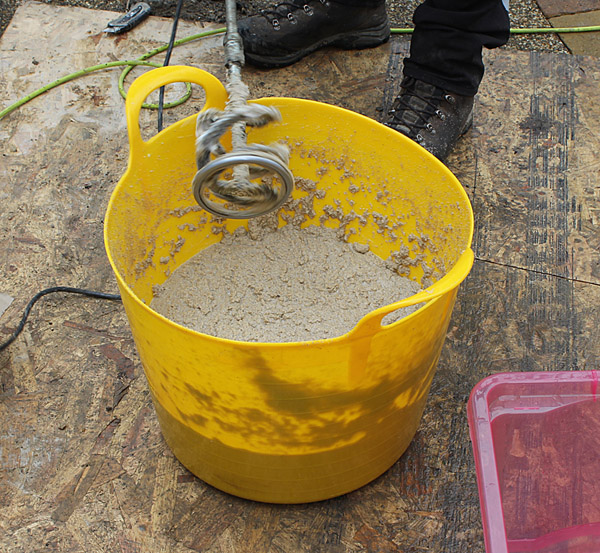
| Step 4.Add 2 tubs of water. Fill Part A & Part B resin tubs with water, fill to resin levels, Add to mix and mix until porridge consistency. |
 |
| Step 5. Pre-Wetting: Fully saturate the paved surface before starting the application and ensure this condition is maintained throughout the work. The amount of wetting require is related directly to the type and porosity of paving and the site conditions. ie. sunlight, temperature, wind etc. |  |
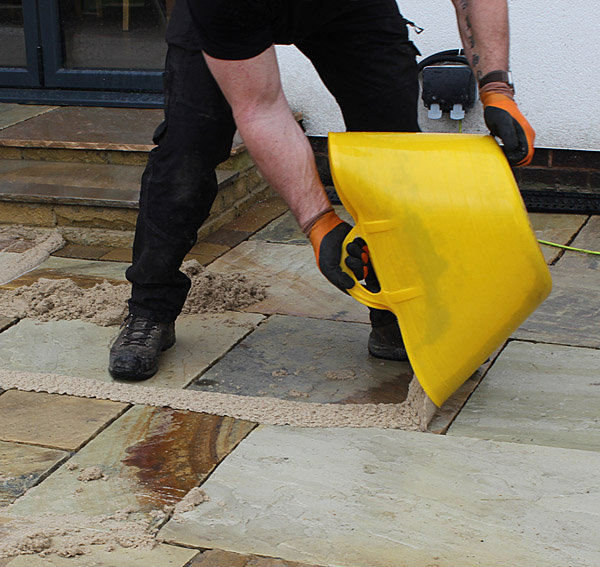
| Step 6. Starting from a high point, empty the mixed grout onto the surface. Brush/squeegee grout mix across the whole area making sure all material flows into the joints, where it self compacts.
|
 |
| Step 7. When joints are full, brush off surplus onto the next area to be grouted. Allow 10-15 mins, depending on temperature brush off all excess sand from area that has been grouted. | 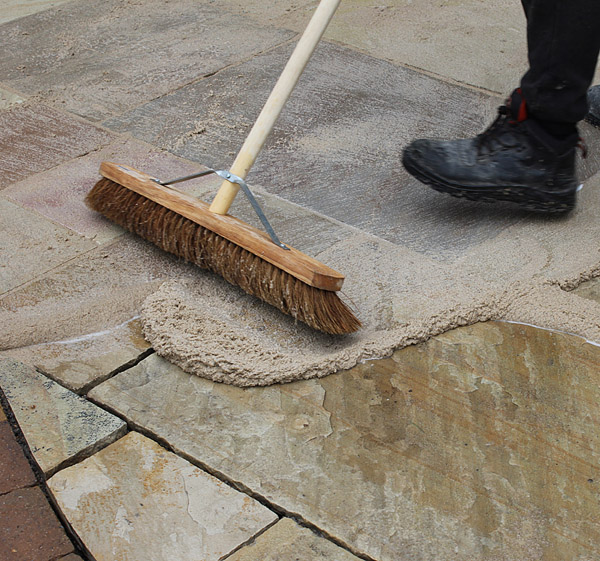 |
| Step 8. Cordon off area for a minimum of 12 hrs or until the paving surface is tack free. |  |

